Every VFX artist needs a portfolio, to ensure that recruiters have a way to find all the information about you. It can be extremely simple looking and take very little time to setup a professional looking site.
Before we start, let’s cover a few key website terms:
- Domain Name: This is the address that you type in to get to your website. They are typically ‘www.something.com’. For instance, my domain name is www.joshparks.co.uk If you want a domain name, you don’t buy it. Instead, you register it for a period of time. Generally by paying a yearly fee. If you don’t renew your domain name when the time period expires someone else can register it. For the purpose of this article, we don’t really need to worry about this as most hosting comes with a free domain name. As long as you keep paying for your hosting you will keep your domain.
- Hosting: Is what we call the physical place where your website is stored. Most websites are stored on a computer in a big warehouse along with thousands of other websites. All connected to the internet with a superfast internet connection. These computers are called servers, and you rent them through a host. I use Bluehost for both this site and my portfolio, it costs only $3.95 a month.
- Portfolio Platform: This is what actually runs your website. Gone are the days when you had to program a website from scratch in HTML. Now you just install wordpress with a few clicks and your website is up and running.
- Theme: This is what your site actually looks and feels like. It is an add-on to your blogging platform that makes your website pretty and unique. There are hundreds of themes out there, including free and paid-for ones.
- Plugins: These are extra things you can install on top of the portfolio platform to make your website better. They are built by third-party developers and once again there are free and paid for ones.
Let’s get started:
Step One – Grab your domain name and sign up to some hosting
You can purchase domain names separately, but most hosting solutions give you one included with the price.
I use Bluehost for my hosting. It is a big company, which means they aren’t going to suddenly shut down. And they are cheap and reliable.
When doing my research before starting making my portfolio site I found that most are using Bluehost. The basic plan (which is all you need) is currently on offer for $3.95 a month.

When you are ready to start a making your portfolio, head over to Bluehost and click ‘get started now’, then select the $3.95 plan.
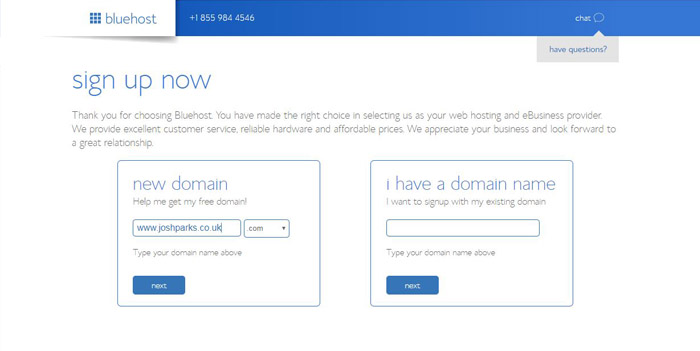
Straight away you will be asked to choose a domain name. This is a very important step.
You generally want your domain name to be your first and last name. For instance: www.joshparks.co.uk
If someone has already taken your name go for something like joshparksvfx.co.uk.
I was lucky enough to get my name (Josh Parks) as the domain name:
As I knew I’d need my portfolio throughout my whole career. I really didn’t want the hosting to expire and end up losing my entire site by accident so I signed up for two years up front.
Once you have chosen your domain name, click ‘next’ and follow the steps. It’s pretty straightforward.
Step Two – Install WordPress
Once you have signed up for the hosting you should be faced with the cpanel page. If you don’t see it right away, look for a menu item under ‘hosting’ that says ‘cpanel’ on it. The page should look something like this:

It may look very complicated, but most of the features we will never touch. All you will probably need is the “Install WordPress” button and potentially the ‘Email Manager’ if you want to set up a personal email address with your domain name.
After you click on ‘Install WordPress’, you will be given the option to pay for someone to install it for you. It is really easy to do it yourself so I suggest not paying. Or, give it a go and if you can’t work it out then pay for some help.
When given the option of where to install WordPress, simply select the domain name you chose when signing up to the host (it will probably be there by default) Then leave the ‘directory’ box empty.
Next you just need to choose a site name, a username and a password.
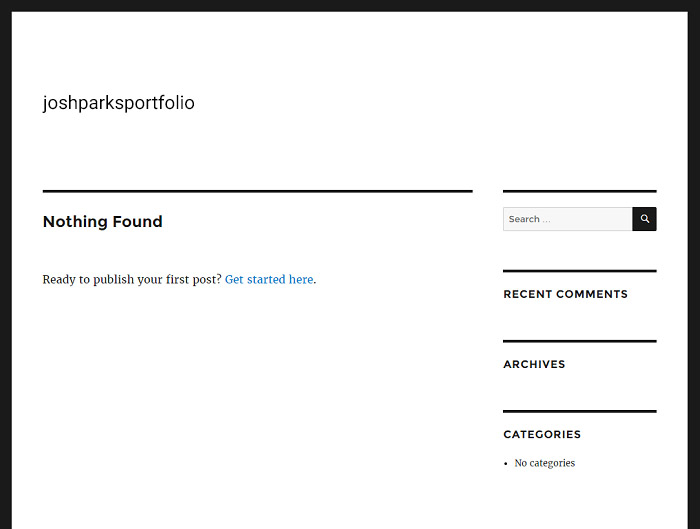
WordPress will then install and once it is done your website will be up and running! Just type in your domain name into a new web browser window to access it. I bet you never thought it would be that easy to start make a portfolio?
Here’s one I set up in about five minutes:
Ok. That is a very plain and boring website… but it is a website that people can access! Time to improve it and turn it into an awesome portfolio.
Step Three – Configure WordPress and install a theme
After you installed WordPress you may have been taken to a page that looks like this:

This is the WordPress Administration page. If you can’t find it then you can access it by typing in your domain name followed by wp-admin. For instance: www.myportfoliosdomain.com/wp-admin. The username and password are the ones you entered when installing WordPress.
This admin page is where you will be spending a lot of your time. From here you will write your blog posts, choose how the website looks and monitor what the people viewing your blog are looking at. It is worth spending a bit of time looking around.
You’ll also want to install the plugin “Disable Gutenberg, this will allow you to edit your pages using your chosen themes setup. To do this on your wordpress properties “click plugins” then “Add new”. Search in the top right for “Disable Gutenberg” and click install. This will now disable the Gutenberg page editor allowing you to easily adjust your pages
Step Four – Choose a theme
The next step is to choose a good theme to make your site look like a professional portfolio.
I really like Salient, it’s a really nice customizable theme and does a lot of the hard work for us, it’s a one-off payment of $60 and you’re done!. If you want to use the same one as me you can find it here.
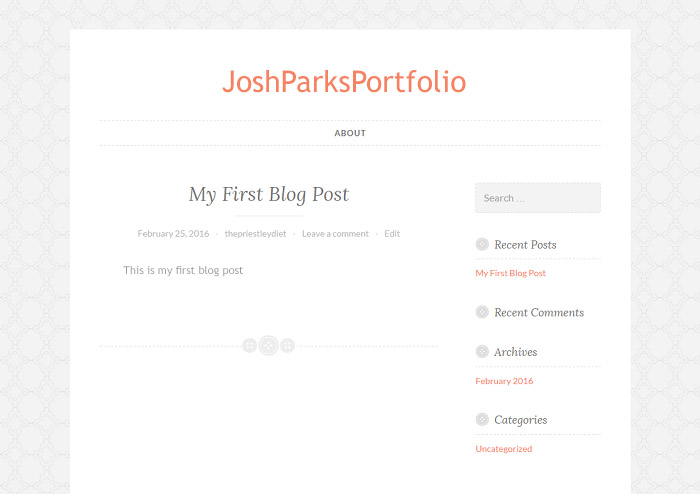
For the sake of this article I have instead chosen a free one called Button, and immediately the website looks 100% better.
Step Four – Setup your landing page
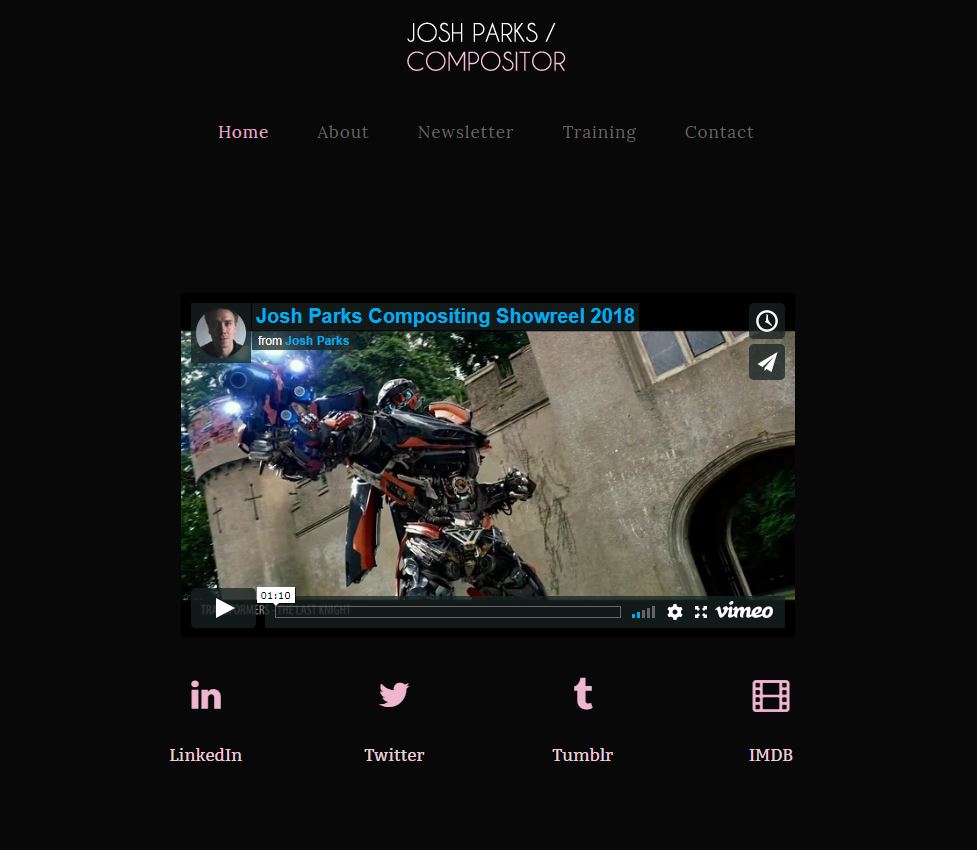
Your landing page is the first page people see, so you want to make sure it has everything that a recruiter will need. What are these?
- Your Showreel
- Contact info
- Your IMDB (If you have one
- Your Linked In
Here’s an example of mine, the first thing you see is my showreel as you don’t want a recruiter to hunt for your work. Then underneath I have different ways to contact me.
On the wp-admin main page, hover over the menu item ‘Pages’. It’s time to make our Landing Page!
Then click Add New
Enter ‘Home’ into the title here panel.
Add a vimeo link by clicking the big + in visual composer, then search video in the pop up and click video player
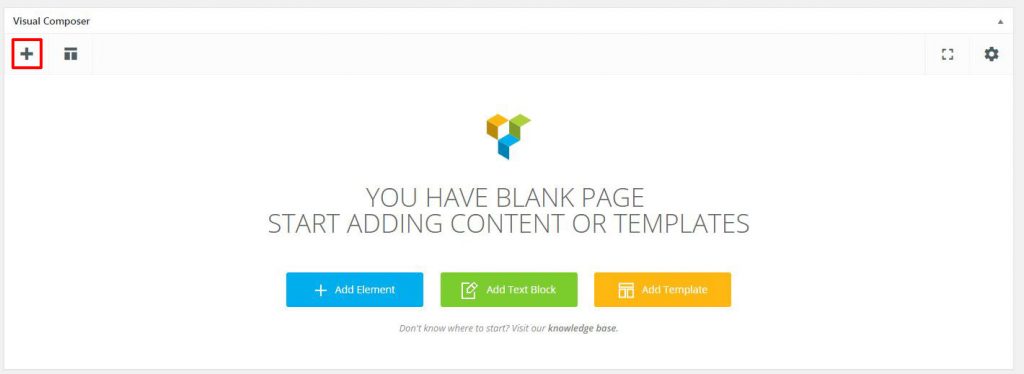

We will then be given a popup which we can paste in our showreel link for the site.
Now to add our buttons we can click the + again and search for ‘button’.
Do this same process to setup your ‘About’ page as well as a ‘contact’ page, if you don’t have your email address on your homefront page.
Step Five – Set your home page
In the left hand panel hover your mouse over ‘Settings’ then click ‘Reading’.
Tick ‘A static page’ and select your home page in the ‘Front Page’ dropdown.
Step Six – Setup Navigation
Now we want to add our about and contact page to our header so that people can navigate our site
On the left hand panel, hover over appearance then click menu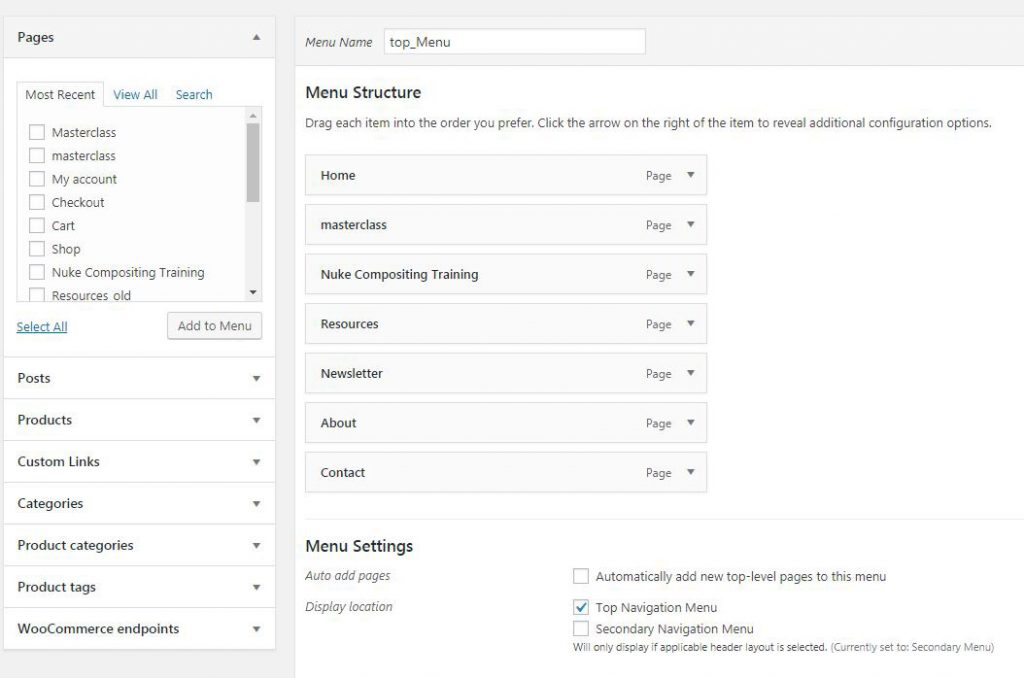
On the left hand side tick the pages on the left you want to add then click ‘add menu’.
You’re Done With your VFX Portfolio!
Want to speed up your Nuke Greenscreening Keying & Despill workflow? Click here for my course.

Very insightful, man. Thank you.
Super helpful! Thanks!